Post-Deployment Smoke Testing: What to Check After Release
What Is Post-Deployment Smoke Testing?
Deploying a website successfully does not automatically mean the release is working correctly in production.
Files may deploy correctly while a configuration is wrong. A form may work in staging but fail in production. An integration may use the wrong credentials. A cache may serve outdated assets. A critical workflow may break only after the live release.
This is why teams perform post-deployment smoke testing.
Post-deployment smoke testing is a short, focused set of checks performed immediately after a release to confirm that the most important parts of the website or web application are operational in the live environment.
The goal is not to repeat the entire QA cycle.
The goal is to answer a more urgent question:
Did the deployment succeed well enough for users to safely use the release?
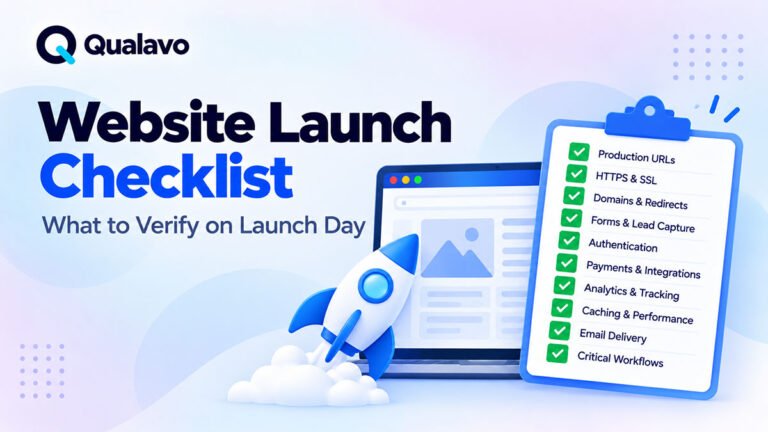
For a broader launch-day process, see:
Website Launch Checklist: What to Verify on Launch Day
Why Smoke Testing After Deployment Matters
A release can pass staging QA and still fail in production.
Production environments often differ from staging in important ways.
Differences may include:
- environment variables;
- API credentials;
- payment configuration;
- email delivery;
- DNS;
- SSL configuration;
- caching;
- CDN behavior;
- database state;
- third-party integrations;
- analytics;
- production-only security rules.
A post-deployment smoke test helps detect serious problems before they affect large numbers of users.
For example, the application may deploy without any technical deployment error, but:
- the homepage returns a 500 error;
- login fails;
- contact forms no longer send emails;
- checkout cannot complete;
- production assets are missing;
- navigation links point to staging;
- analytics stop recording;
- a critical API integration fails.
The deployment technically completed.
The release still failed from the user’s perspective.
Smoke Testing vs Full Regression Testing
Smoke testing and regression testing serve different purposes.
Smoke Testing
Smoke testing is:
- fast;
- focused;
- performed immediately after deployment;
- limited to critical functionality;
- designed to detect major release failures.
The question is:
Is the release fundamentally operational?
Regression Testing
Regression testing is broader.
It checks whether existing functionality still behaves correctly after changes.
Regression testing may include:
- many more workflows;
- edge cases;
- multiple browsers;
- multiple user roles;
- deeper functional coverage;
- detailed retesting.
The question is:
Did the changes negatively affect existing behavior?
A release may receive a short smoke test immediately after deployment and then more extensive regression testing during the stabilization period.
What Should a Post-Deployment Smoke Test Cover?
The exact checks depend on the website.
However, most smoke tests should focus on the areas where failure would create the greatest business or user impact.
A practical smoke test usually covers:
- website availability;
- critical pages;
- navigation;
- forms;
- authentication;
- critical user journeys;
- payments or transactions;
- integrations;
- emails and notifications;
- tracking;
- visual sanity checks;
- basic error monitoring.
Let’s examine each area.
1. Confirm the Website Is Available
Start with the simplest check.
Can users access the website?
Open the production URL in a fresh browser session.
Check:
- homepage loads;
- HTTPS works;
- no certificate warning appears;
- expected domain is used;
- redirects work correctly;
- no maintenance page remains active;
- no server error appears.
If the release changes routing or domains, test common entry URLs as well.
A deployment should not be considered healthy if the website itself cannot be reached reliably.
2. Open Critical Pages
Do not immediately test every page.
Start with the most important ones.
Typical examples:
- homepage;
- pricing page;
- contact page;
- login page;
- signup page;
- dashboard;
- checkout;
- confirmation page;
- account area.
Check that each page:
- loads;
- displays the expected content;
- uses the correct production data;
- does not contain obvious errors;
- does not link back to staging.
If a page is business-critical, it belongs near the top of the smoke test.
3. Check Main Navigation
Navigation is a quick indicator of whether routing and core site structure are functioning.
Test:
- main menu;
- dropdown menus;
- mobile menu;
- logo/home link;
- footer navigation;
- primary CTA buttons.
Confirm that links resolve to the correct production URLs.
One easy-to-miss release problem is a link that still references a staging or development domain.
4. Submit Critical Forms
Forms often depend on configuration that differs between staging and production.
Test important forms such as:
- contact forms;
- lead forms;
- quote requests;
- newsletter signup;
- registration;
- support forms;
- booking forms.
Do not stop after seeing a success message.
Verify the complete flow.
For example:
- submit valid data;
- confirm the success state;
- verify the record was saved if applicable;
- confirm the email or notification was actually delivered.
A form that visually reports success while silently failing in the backend is still a production defect.
5. Verify Login and Authentication
If the site includes authenticated functionality, test at least the most important authentication paths.
Check:
- login;
- logout;
- session creation;
- restricted pages;
- password reset if affected by the release.
If the release changed permissions or authentication code, also verify representative user roles.
Example:
- administrator;
- standard user;
- client;
- subscriber.
For a deeper guide to these flows, see:
How to Test Login, Signup and Password Reset Flows
6. Test the Critical User Journeys
A smoke test should include the workflows the business cannot afford to lose.
Examples:
Lead-generation website
Homepage → Service page → Contact form → Confirmation
SaaS application
Login → Dashboard → Core action → Save → Confirmation
E-commerce website
Product → Cart → Checkout → Payment → Order confirmation
Booking website
Service → Date/time → Booking form → Confirmation
You do not need to test every variation.
You do need to verify that the core path is still operational.
7. Test Checkout and Payments When Relevant
For e-commerce or paid SaaS products, the transaction flow is typically release-critical.
Check:
- product selection;
- cart;
- checkout;
- totals;
- payment;
- confirmation;
- order creation;
- confirmation email.
Use the approved production testing method for the payment provider.
Do not perform unnecessary real transactions if the system offers a safe production-verification process.
If payments are business-critical and they fail, the release may require immediate remediation or rollback.
How to Test an E-commerce Checkout Flow
8. Verify Important Integrations
Websites increasingly depend on external systems.
Examples include:
- CRM;
- email provider;
- payment gateway;
- booking service;
- analytics;
- authentication provider;
- maps;
- chat;
- APIs.
A deployment may succeed while an integration fails because production configuration differs from staging.
Check only the integrations that are important enough to affect release health.
For example:
Contact form submission → CRM record created → notification email delivered
Testing the complete chain is more useful than checking only the frontend response.
9. Check Emails and Notifications
Production email configuration can behave differently from test environments.
Verify important transactional messages such as:
- account verification;
- password reset;
- contact confirmation;
- order confirmation;
- booking confirmation;
- internal notifications.
Check:
- message arrives;
- recipient is correct;
- sender is correct;
- links use the production domain;
- content is correct;
- no test/staging wording remains.
A release that sends users links back to staging can create serious confusion.
10. Verify Analytics and Critical Tracking
If analytics or conversion tracking is important to the business, perform a basic verification.
Examples:
- page view recorded;
- form submission event fired;
- signup event fired;
- purchase event fired;
- key CTA tracking works.
You do not need to perform a complete analytics audit during the smoke test.
The purpose is simply to confirm that the release did not obviously disable critical measurement.
11. Perform a Visual Sanity Check
Post-deployment smoke testing is mainly functional, but obvious visual problems can signal deployment or asset issues.
Quickly inspect:
- fonts;
- logos;
- hero images;
- icons;
- CSS;
- main layout;
- navigation;
- mobile layout.
Look for signs such as:
- missing stylesheet;
- broken images;
- fallback fonts;
- unstyled components;
- missing icons;
- incorrect spacing.
If the entire layout suddenly looks wrong, the cause may be a deployment, caching, or asset-loading issue rather than a normal visual defect.
12. Check Basic Error Signals
Where access is available, review the most important production health signals.
Examples:
- application errors;
- JavaScript errors;
- failed API requests;
- HTTP 500 errors;
- failed jobs;
- integration errors.
The smoke test is not a complete monitoring exercise.
You are looking for obvious signs that the new deployment is producing immediate failures.
A Practical Post-Deployment Smoke Test
A simple release smoke test might look like this:
Availability
- Production homepage loads
- HTTPS works
- No maintenance mode
- No obvious server errors
Core Pages
- Homepage
- Primary service/product page
- Contact page
- Login/account page where applicable
Navigation
- Main navigation
- Mobile navigation
- Key CTA
- Footer links
Forms
- Critical form submits
- Success state appears
- Data is received
- Notification email arrives
Critical Workflow
- Primary user journey completes successfully
Authentication
- Login works
- Logout works
- Restricted content behaves correctly
Integrations
- Critical integration responds
- Production credentials work
Tracking
- Important tracking/event is recorded
Visual
- CSS loaded
- Images loaded
- Fonts/icons loaded
- No obvious desktop/mobile layout failure
Release Health
- No immediate critical errors identified
How Long Should a Smoke Test Take?
A smoke test should be intentionally limited.
For many standard websites, the core smoke test may take only a few minutes.
For a more complex SaaS or e-commerce platform, it may take longer because there are more critical workflows.
The correct duration depends on risk, not on an arbitrary time target.
The key principle is:
test enough to determine whether the deployment is safe to remain live, but do not turn the smoke test into the entire regression suite.
Who Should Perform Post-Deployment Smoke Testing?
The responsibility should be defined before release.
Depending on the team, it may be performed by:
- QA;
- developer;
- release manager;
- product owner;
- agency project team;
- a combination of roles.
What matters is that someone clearly owns it.
Avoid:
Someone should check production after launch.
Use:
QA performs the production smoke test immediately after deployment and reports the result in the release channel.
Clear ownership reduces the chance that everyone assumes someone else performed the check.
When Should Smoke Testing Start?
Ideally, immediately after the deployment has completed and the production environment is available.
For example:
Deploy → Technical verification → Smoke test → Release confirmation
Do not wait several hours before checking a critical production release unless there is a specific operational reason.
The sooner a serious issue is discovered, the sooner the team can respond.
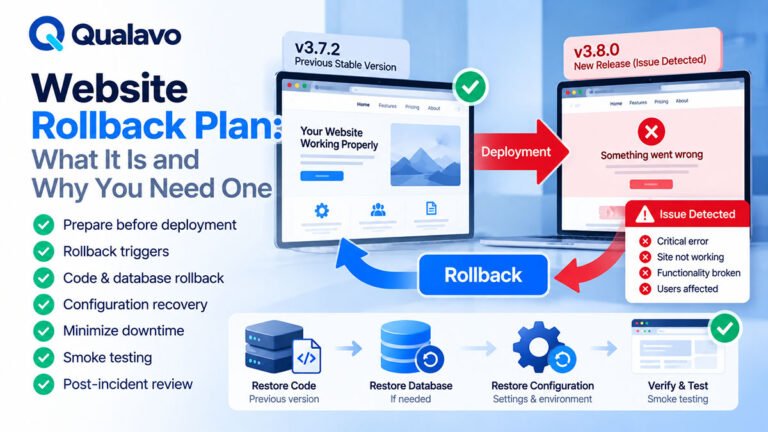
What Happens If the Smoke Test Fails?
The answer depends on severity.
A minor visual defect does not necessarily require rollback.
A failed critical workflow might.
Possible responses include:
- fix forward;
- configuration correction;
- cache purge;
- feature disablement;
- rollback;
- temporary workaround.
The decision should consider:
- impact;
- affected users;
- business criticality;
- estimated fix time;
- rollback risk.
This decision is easier when rollback criteria were defined before deployment.
Define Pass and Fail Criteria Before Release
A smoke test works better when the team already knows what constitutes failure.
Example:
Smoke Test Pass
- production is accessible;
- critical workflows complete;
- no release-blocking defects found;
- critical integrations work.
Smoke Test Fail
- production inaccessible;
- checkout unavailable;
- login unavailable;
- primary lead form broken;
- major production integration failing.
This avoids debating the meaning of “successful release” while users are already affected.
Smoke Testing Should Be Documented
Even a short smoke test should leave evidence.
Record:
- deployment date/time;
- environment;
- person performing the check;
- checks performed;
- pass/fail result;
- issues found;
- follow-up action.
Example:
Post-deployment smoke test: PASS
Date: 22-Sep-2026
Environment: Production
Critical workflows: Passed
Open issues: 1 low-severity visual defect
Release status: Remains live
This creates a useful release history.
Smoke Testing Is Not the End of Post-Launch QA
Passing the smoke test means the release appears fundamentally healthy.
It does not mean QA is finished.
Post-launch work may still include:
- monitoring;
- wider regression testing;
- analytics verification;
- performance checks;
- bug tracking;
- user feedback;
- stabilization activities.
This is especially important after larger releases.
Connect Smoke Testing to Release Readiness
A strong release process should connect pre-release and post-release QA.
Before deployment:
Plan → Test → Fix → Retest → Go/No-Go
After deployment:
Deploy → Smoke Test → Monitor → Stabilize
The pre-release process asks:
Are we ready to deploy?
The smoke test asks:
Did the deployment actually work in production?
Both are necessary.
For release decision guidance:
Go/No-Go Checklist: Is Your Website Ready to Launch?
Make Post-Deployment QA Repeatable
Post-deployment testing should not depend on memory.
Use a documented runbook or checklist containing:
- who performs the test;
- when it starts;
- which URLs to open;
- which forms to submit;
- which users to test;
- which integrations to verify;
- what constitutes failure;
- when rollback should be considered.
This becomes particularly valuable for teams that release frequently.
Qualavo Professional includes structured resources for launch-day execution, rollback planning, post-launch monitoring, and regression tracking.
For agencies managing releases across multiple client websites, Qualavo QA Agency can extend this into standardized multi-client QA and release governance.
Post-Deployment Smoke Testing Checklist
Before declaring the release healthy, confirm:
- Production website is accessible.
- HTTPS and domain behavior are correct.
- Critical pages load.
- Main navigation works.
- Primary CTA works.
- Critical forms submit successfully.
- Form data reaches the expected destination.
- Login/authentication works where relevant.
- Primary user journey completes.
- Payment flow works where applicable.
- Critical integrations respond.
- Important emails/notifications are delivered.
- Key tracking is operational.
- Main assets and styles load correctly.
- No immediate release-blocking errors are present.
- Smoke test result is documented.
If a critical item fails, investigate before considering the deployment complete.
Final Thoughts
A deployment is not finished when the deployment tool reports success.
It is finished when the team has verified that the live product is functioning well enough for users.
Post-deployment smoke testing provides that final safety check.
Focus on what matters most:
availability, critical workflows, forms, authentication, integrations, transactions, and obvious production failures.
Keep the test focused.
Run it quickly.
Document the result.
Then continue monitoring the release.
Need a repeatable process for launch-day QA, rollback planning, and post-launch verification? Explore Qualavo Professional.